Looky, Looky

Artzzle.com

Hooray, outside days are back.

Last Sunday between showers, I managed to plant some annuals which have already taken hold. All week I’ve had to mow small sections between the storms. My yard looked liked a giant patchwork quilt! Yesterday rain held off long enough to dry things out and I finished it all before an evening downpour. Yay!

Today, well, WOW ! A little windy but beautiful! I’m off soon on Friday errands and grocery shopping but wanted to post first, as am always pooped from all that running around! After dragging everything in and putting it away, I take a short sit-down break with a cool drink.

On the subject of drinks, here’s my favorite. It’s refreshing, affordable, good and good for you too.

All you need is
1. A pretty goblet (always decorating ๐Ÿ™‚
2. A favorite fruit juice
3. A little sparkling water

The mixture I use is 1/3 juice to 2/3’s seltzer water, +/- to taste.
I use 100% apple juice NOT FROM CONCENTRATE. The juices from concentrate are more heavily processed, and have added sugars and preservatives. As a diabetic, the more natural juice is better for me. You can use any fruit juice or blend that you like. I hear cran-apple is great! (and if you prefer a little more zip, add a drop or two of your chosen alcholic mixer. That works too!)

I’ll close this time with one more pretty flower shot and a hint.

HINT: If you’re not keen on gardening but still crave some summer color, catch the next post. It’s a quick project, easy to do and real affordable too.

Meantime, don’t stress, just start.
-Cheryl

Still Not Quite Spring in Minnesota

I was hoping to show off some Spring photos of my own this week, but nothing yet. So it was wonderful to be greeted by these featured shots today, on one of my most favorite websites … www.HOUZZ.com.

Like a pinball machine, our Minnesota weather has been up, down, back and forth, just all over the place this year. The calendar rightly lists spring but heavy May snows and unusually low temperatures have postponed the actual season.

The article by Houzz contributor Benjamin Vogt, caught my eye with the beautiful pictures, but held my interest because of the zone information. We’re in the northern part of zone 4, on clay soil so this plant seems perfect. It’s perenniel, and seems to have continued interest through the seasons with it’s foliage and seed pods.

Great Native Plant: Baptisia
Bring beneficial bee pollinators with this drought-tolerant perennial that looks like a shrub and acts like a flower


Our area is also suffering a mysterious loss of some of our native bees, so perhaps the Baptisia will help with that as well.

Benjamin notes that wherever you place Baptisia, make sure that’s the final spot where you want it. Baptisia takes a few years to bloom, and it has a deep taproot (making it very drought tolerant), so it responds poorly to being moved.

‘Twilight Prairieblues’ (shown) is another cultivar with dusky purple petals and a yellow base. Its leaves tend to be a smokier blue than the greener species plant.

You’ll find the entire article HEREand if you haven’t already found HOUZZ, I bet you’ll follow it once you take a look!

Readers, I’m sure you agree that our sympathy and thoughts go out to the Moore, Oklahoma tornado victims. Check your local television networks for information on how to help.

With your spring home and garden projects remember, don’t stress, just start.
Until next time – Cheryl

Double Duty Elegance

There is an elegance to a simple arrangement such as this.  But to be appreciated even more is the double duty factor.   Plates, bowls and vases are favorite accessories for me.  They play well with others in groupings, can be utilized as table serving pieces or containers to display fruits or flowers and are economical and easy to find.

Black and white works well with any color scheme.  I found these little plates at one of my favorite local haunts and snatched them up immediately.  The vase is from my pottery collection and the beautiful figurine was obtained from another area shop .   For photo purposes, here the display sits on a solid shelf, but I often feature it in a hutch that has glass shelves and a mirrored back.  The black plate beneath accentuates the figurine, anchors the arrangement and on the glass shelf of the hutch, provides a bit of separation from a lower display.

Have a great weekend and remember, don’t stress, just start.

-Cheryl

You’ve just read Double Duty Elegance by Cheryl Brindle. Consider leaving a comment (little cloud at top of article) or reply below!

Click the EZ Display tab for more fun. Thanks for stopping by. Come back soon and bring your friends.

NOTES: Plates from Discovery Thrift, Milaca, MN @ $0.49 each, new
Mfg: Gibson Elite, Paradiso Accent                                                 
Figurine from Hand to Hand Thrift, Pease, MN @ $2.50 – previously treasured
Mfg: Gallery Originals 1984

Republication in part or in full, of this article or any content on Artzzle is a violation of Copyright laws 2012 – 2013 All Rights Reserved

Cards for Mother’s Day

Sunday is Mother’s Day. As a floral designer, I know it is a big, busy day for that industry and reason for card companies to celebrate! As a Mother and Grandmother, I love the anticipated arrival of either cards, flowers, or better yet both! What fun.

A card is always appreciated, but is even more special with a personal touch. I enjoy making and sending hand-crafted greeting cards, and am sharing these latest projects with you. This is a Make-Do project for me; no need for outside shopping or spending because over time, I’ve amassed an abundant supply of papers, scrap, notions and envelopes.

Cards can be as basic as paper and envelope, with simple decoration and a hand-written message (and a little help from parents for pre-schoolers!). A standard size and weight piece of paper folded in half then in half again, gives you the typical card form and fits into what’s called an “invitation” envelope; both very affordable and found at any craft or office supply store. This is mailed with a normal stamp.

Card-stock, stationery weight and light chipboard are my standard starter papers. These are sturdy enough to support dots and glued cut-outs on just a one-fold design. Pre-cut, padded, double-sided, decorative card-stock was used here. The sheets even featured rounded corners which dresses up the project.

Supplies are pictured. Two sheets of paper for each card; the less bold pattern was used inside so the written (or here, printed) message would stand out on the design. The second sheet is used for the decorative cut-outs you’ll use to raise, layer and decorate your design. Self-adhesive dots were used to lift my pattern. The glue wheel was for the flat pieces I layered, and the inside decorative cut-outs.

TIP 1: Double sided paper allows you to do an adjusted fold for added pizzaz. This is simply where you don’t fold the paper exactly in half, but leave a margin at the edge of your card, which shows the inside design for accent.

TIP 2: Have extra scrap paper or card board off to the side of your work area, to use when you apply your wheel glue strips to your cut-out pieces. A pair of small tweezers is sometimes helpful to pick up and position your glued cut-outs.

TIP 3: When making and mailing larger, raised cards you’ll want an envelope big enough to allow for the extra bulk, and you’ll also need extra postage. You can either just add one more regular stamp, or have the Post Office weigh your card for exact postage needs. NOTE: My cards were made on 11.75″ x 5.75″ sized stock, and required a larger envelope AND extra postage.

Everyone have a nice Mother’s Day. Remember mom’s, grandma’s and the wonderful friends who fill in, if those special women are no longer with you.

And remember, with any project . . . don’t stress, just start.

Until next time – Cheryl

Pretty Gift Box, E-Z Make-do Project

A bit of ambition and inspiration struck yesterday, so I decided to take on a quick, make-do project. Remember, my make-do ideas are strictly no spending, no store trips. The only shopping done is shopping my house to see what I can come up with.

After making some note cards as a gift for a friend, I needed something to put them in, so the search was on. There were two decent white board boxes, but one was too small and while the perfect size, the lid on the second box was yellowed and had some small dents; not good gift material! All the available decorative bags were winter themed and that was definately out. Any gift paper found was too heavy to wrap the small box lid smoothly. I have lots of wrapping tissue, so chose three bright colors for a collage effect for the box lid.

Adults and kids alike find this a fun, easy application with beautiful results, that can be used in many ways.

The supply list is simple.

Colored tissue wrapping paper, water based glue and plain water. That’s all you need. I use either Elmer’s white glue or as in this case, Tacky glue. Both work well, but Elmer’s is a bit thinner consistency and will dry a little quicker, which is nice for this project, but not a must. Tacky was in my cabinet so that’s what I used here. If you have a flat, synthetic craft brush, it comes in handy, but plain old fingers work fine too (they’re just a little messier ๐Ÿ™‚ ).

1. Tear your tissue into pieces sized for easy work with your object. Here we’re covering the lid of a small box so don’t want very big pieces.

2. Squeeze some glue over a section of your object, then smooth the glue over that portion, adding just a drop or two of water to make a damp glaze.

3. Lay on a piece of paper, then gently pinch at the paper to create wrinkled texture.

4. Continue until the top is well covered, then wet a side of the lid and adhere smaller sized pieces. Work them into the wet top. Leave a dry edge hanging down at the bottom of the box’s sides. DON’T wrap glue and paper into the inside of the lid.

5. Repeat until you get desired look and texture. Let dry, then carefully trim off dry edges.

TIP 1: Tear your tissue rather than cut. Jagged, natural edges are more interesting in this application.
TIP 2: Don’t use a natural bristle brush as glue is difficult to remove completely. Even with synthetic, keep your brush wet when not in use, so that glue isn’t able to dry and damage brush. Wash up with warm water and ordinary dish liquid.
TIP 3: After completed project dries, add one final coating of glue over entire surface, to give a nice sheen to your finished piece.

Finally, I lined the box with tissue, then put the envelopes, more tissue and lastly the cards. This was a set of eight note cards and I always include two extra envelopes.
An inexpensive, quick and easy project that any age will enjoy making OR receiving.

My friend Linda loved her gift!

As always, don’t stress, just start.
Later – Cheryl

May Day Flowers

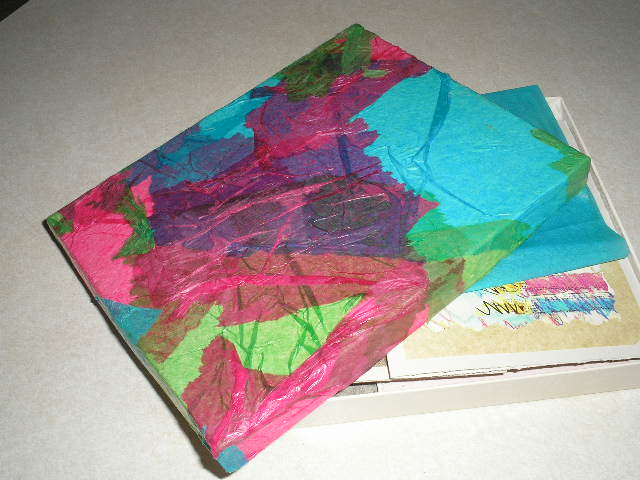
Yesterday was the first of May, but this year’s weather has kept most spring blooms away. Growing up, we kids would make all kinds of paper flowers to decorate little May baskets for our friends. After school on May Day, we’d deliver them to the recipient’s front door, ring the bell then run and hide to watch them find the surprise. That was one of my daydream memories as I tried to ward off the depressing reports of more snow to come!

The beauty of flowers is cheering anytime of year. Who doesn’t like to stroll through a gorgeous garden, give or receive a bright bouquet on a dreary winter day. Working as a florist was most enjoyable and gratifying for me. I also appreciate the value of florals in decorating too. Nature is a major inspiration point but when it isn’t offering much color, fabrics are a wonderful stand-in.


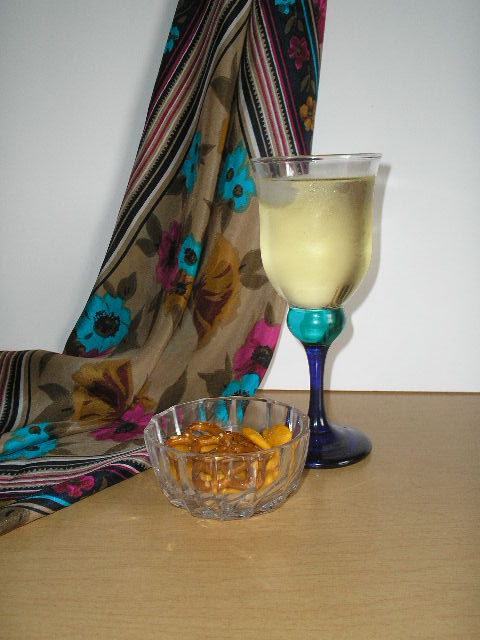
The above, modern mix of florals and paisley works for guys and gals. The pattern offers several choices for accents and wall colors. Click on the pic to see the bigger picture.

You can see how helpful a colorful fabric can be. Everything you need for a scheme is within the pattern’s design. All you have to do is find the rest of the pieces and assemble your room’s puzzle.


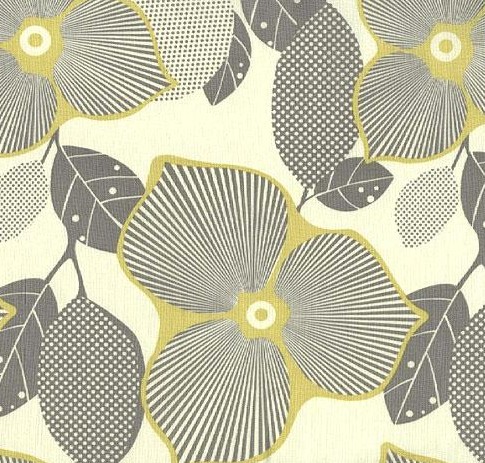
Featured above is a warmer, more traditional design, which once again, offers an abundance of choices to create an entire room scheme. Colors in the bottom paint strip did not photograph well and are actually much warmer.

TIP 1: When you’re tackling an entire room project, you may find easy answers to many questions in a trip to a fabric store. But beware, you may go from “no ideas” to an overload of choices, but you’ll have fun in the process.

TIP 2: While shopping for your main inspiration fabric, don’t forget to find it some friends. Look for a second pattern; possibly drawing on one of the predominant colors from the first; it should still be lively and a bit bold, but don’t out-shine your primary piece.
Then look for your neutrals and textures.

TIP 3: Stores only allow a small size piece when you ask for free cuttings, and it often doesn’t represent the true pattern. If you can afford it, buy a quarter or third yard for your samples. It will give you a much better idea.

Can’t just jump in the car and go? No problem. Check out one of my favorite websites at www.fabric.com. Take some time to look around. You can choose by subject, color, manufacturer, designer and pull up a never-ending source of ideas. They also have a great clearance section with prices grouped at 25% – 50%, 60% off and so on. Many selections also give a panel of coordinate patterns to consider, which may make things easier for beginning decorators. You can make a display wall of several selections to see how you like the combinations, and decent sized samples can be ordered. It’s all at your fingertips.

A popular textile designer to consider is Amy Butler. She’s fun because she offers so many different style formats, from very traditional (grandma’s bedroom wallpaper) to funky, new designs and lots in between for everything else.

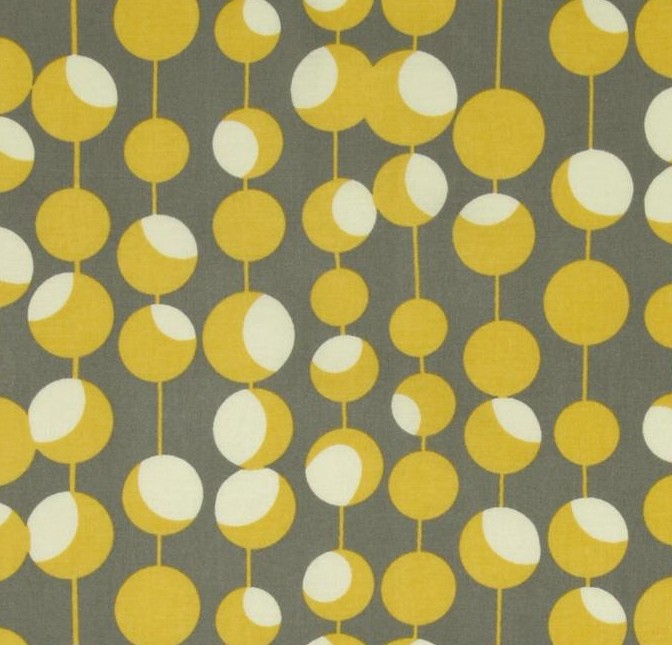
I’ve been researching for a “guest room” project where the couple wants a modern, more masculine look. Gray and gold is trending currently, but it is also a very tried and true decor combination, so it will be one of my presentation boards. Below are some fantastic Butler designs I may suggest.

Large_BI-055

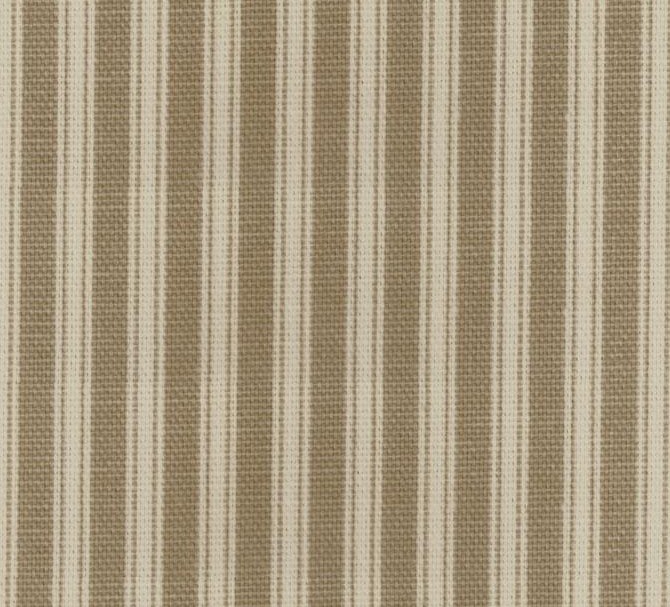
They are not wallpaper people (yet anyway ๐Ÿ™‚ ) so the inspiration fabric could be used on a headboard, a chair (if heavy enough) or draperies. The one I call Olives could be on larger pillow shams, dresser covers, a bench top. The neutrals and textures would of course be on smaller toss pillows or throws.

I would use subtle, mid to lighter tints of grays for paint, and a mustardy, yellow gold for accents on this board.

Today’s 3Rule: Keep in mind three elements in design are 1. color, 2. pattern and 3. texture.

Lot’s to think about today, but remember … don’t stress, just start.

Until next time – Cheryl

P.S.
I’m learning lots more about WordPress! How do you like the new look?