Hi All.
Regular readers know that Hubs and I love our home. The location is desirable, the price was affordable, and it was newly built eleven years ago, when we moved in. There’s nothing drastically wrong with the house, it’s just very “builder-basic”. Being seasoned homeowners, we were aware that things would need to be replaced or updated around the decade point, i.e. NOW.
For example, the windows. They are vinyl, which is GOOD, but they’re sliders and will need to be replaced eventually. Some of the seals are going bad. That can be done gradually, so not a problem. New flooring was also on our “Reality List”, as was changing out the style and color of woodwork, but again, those could wait or be done room-by-room, a bit at a time. No big financial hit all at once.
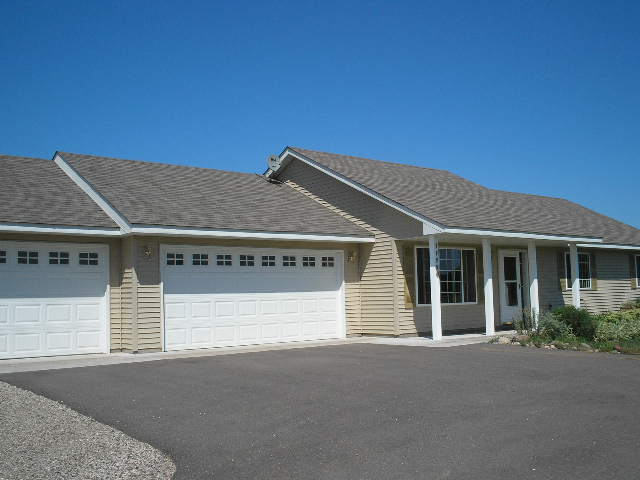
House about three months after purchase
Above is a picture of our little house early in the first year. At this point we had put in the asphalt driveway pad and rocked the rest of the driveway area to our entrance road. Also added a bit of shrubery, painted the wooden pillars white and the white shutters and front door were painted gold. Hubs also removed some strange metal pickets between the porch pillars.
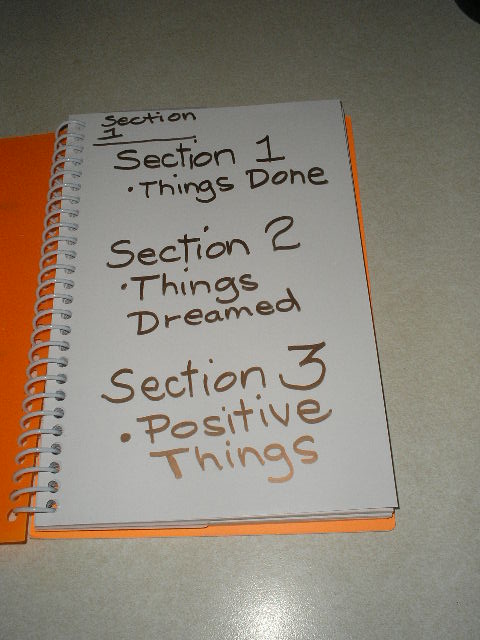
So see, though realistic, we love our home . . . . . . . . . EXCEPT . . . . . .
The cabinets are that orange oak finish, with no nice trim. The only detail on the flat surface doors and drawer fronts is a routed line around the border of each. Kind of reminds me of my first “home away from home”, a 1960’s trailer house … and those aren’t all wonderful memories.

Cabinets and door B4

Original routed design
As experienced homeowners, that seasoning includes several cabinet “resurfacing” projects, the majority for which we hired professionals. You may be wondering about that, asking why we didn’t do all of them ourselves.
Hey, that’s EASY to answer . . . WE WANTED TO STAY MARRIED !
Now I’m continually bragging about Hubs … and it’s true, he can build just about anything I can draw. He’s very talented and patient. I, on the other hand – not so much (a few talents, yes, but patience – that’s a BIG NO). However, refinishing projects are not mastered areas for either of us.
Then there’s the big mess. Smelly, drippy chemicals and all those rags! Stripping, sanding and … more sanding. ICK. If you do finally get the thing cleaned up and painted, most times you either don’t like the finish or it doesn’t hold up and wear well over time.
The MAJOR PROBLEM was we just never found the right products or materials to help us. Many of you know my pain here. C’mon, admit it … you’ll feel better. At least, we’re not alone, right!
Today, I truly and confidently say to one and all – PROBLEM SOLVED. We found the right products!
1. EASY . . . it’s a kit.
2. SUPPLIES INCLUDED . . . has all you need but protective gloves & rags
3. NO SANDING, NO TOXIC CHEMICALS
4. WEARS WELL . . . we did our bathroom almost three months ago and it is fine. Not only with daily wear and use, but we often put our dogs in there when we’re gone, which means additional wear and tear.
5. Lots of colors, combinations and techniques you can choose from.
OK, so THE WINNER IS . . . . RUSTOLEUM CABINET TRANSFORMATION KITS.
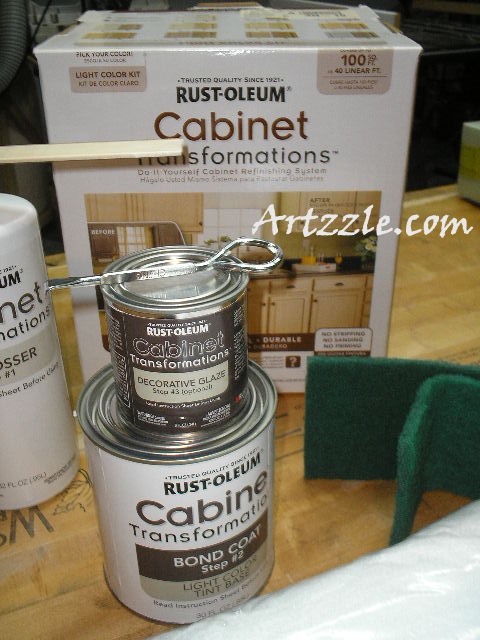
The KIT
All you need to purchase besides the kit, are work gloves and rags. NOTE: We wanted to add to the door’s design so bought trim pieces for that, on our project.

You’ll need to purchase protective gloves and a bag of lint free white rags.
I have always trusted, used and recommended Rustoleum paint products. I just wasn’t aware of this one. We were at our local hardware store, Marv’s True Value in Princeton, Minnesota. Their paint experts, Sue, and her assistant, Brandon, told us all about the kits. That’s plural because also available, is a Countertop Transformation Kit. There is a video for each that you can watch at the store, but it is also included in your kit, for referral at home during the project. (Didn’t I say EVERYTHING was included)
The cabinet results have been so wonderful, that we’re considering doing the countertops next. Here again, we’ve never had luck previously with a countertop DIY project so, I’m still a bit of a doubting Thomas. If any of you have used the countertop kit, I’m sure the rest of us would love to hear and see your results.
Time-wise our bathroom project was completed over a three-day weekend. Part of that time-frame included Hubs cutting and adding the new trim pieces.
Following are the step-by-steps for our bathroom cabinets re-do.
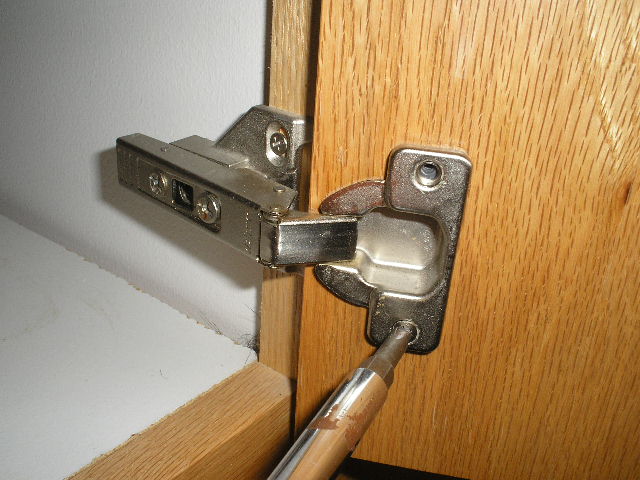
Remove doors from hinges

Hinge stays in place. Only door is removed.

1st Door removed
We researched and found an appropriate size trim that Hubs used to cover the routed borders.
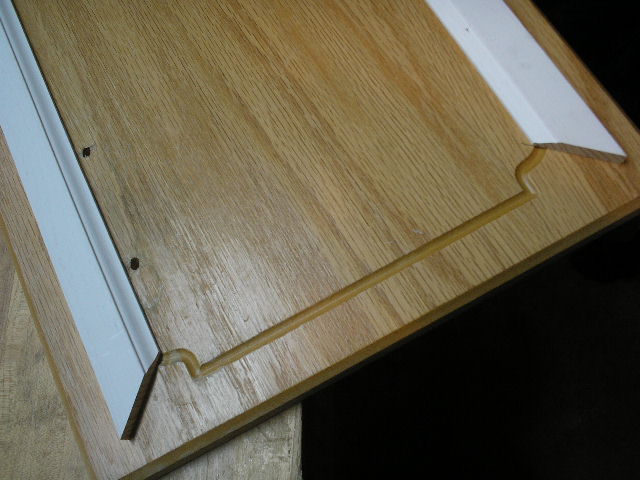
New trim pieces cut and being added
Here’s the first fully trimmed door.

Door with new trim added
NOTE: Normally, using the KIT, you don’t have to sand anything. You go right to the step below … putting on gloves and then applying the degreaser to the pad (both provided) and scrub the surface. The instructions are very clear and understandable.

No need to sand UNLESS you have bulky residue on surface. We had excess filler from added trim corners, so we DID lightly sand those areas.
After thoroughly cleaned, wipe down well with rags.

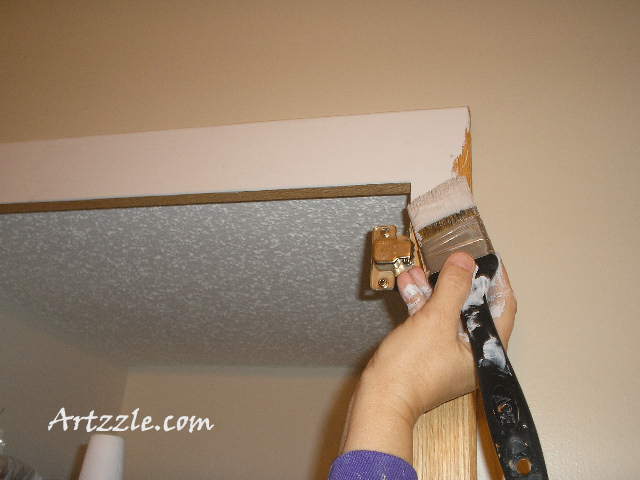
REMEMBER: You’ll also have to degrease and clean your cabinet frames in the room. We also did all of the woodwork in the bathroom, and the bathroom side of the entrance door. You’ll see that Hubs added a decorative strip to that flat door as well.
After all is degreased and cleaned, you apply the first coat of color. Let that dry completely, and then do a 2nd coat.
After both coats of color are on and very dry, you have a choice. You can apply the sealer (per directions), or if you like the look, apply the stain technique and then the final sealer coat. We didn’t choose to use the stain because we preferred the painted look. The wood grain is still seen and we just liked it this way. IF YOU DO use the stain, that will have to dry before you can seal the finished product.
NOW … I MUST APOLOGIZE. I have to be a bit anti-climactic. I can’t show you the finished result photos today. Seriously, NO JOKE. My computer’s USB port is not playing nice with my camera’s plug (Hhmm that sounds strange). Anyway, I can’t load the final pictures.
I have a HELP call in to our computer GURU and hopefully it won’t take long to fix the troubles.
So for this time, as always, don’t stress (you won’t have to with the kit) and just start your project.
Later – Cheryl
This original article “EASY DIY Cabinet Resurface Project” appeared first on Artzzle.com. No included content or photography can be used elsewhere without specific permission from said originators.
Copyright © 2013 Artzzle All Rights Reserved