______
Hi All.
Wow, are you going to love the Thursday Thoughts post today. But first, I have to confess . . . my mini marathon wasn’t supposed to be quite as mini as it turned out. But it is SITS girls week and I have been so busy mailing out and answering back tons of comments. If you’re wondering “what the heck is SITS girls . . . find out HERE at this LINK.
______
Anyhoo . . . on this Thursday, since I have been showered with so many great posts lately, I wanted to share just one or two of my favorites with you. Just sayin’ . . . they’re REALLY good so you should check em’ out.

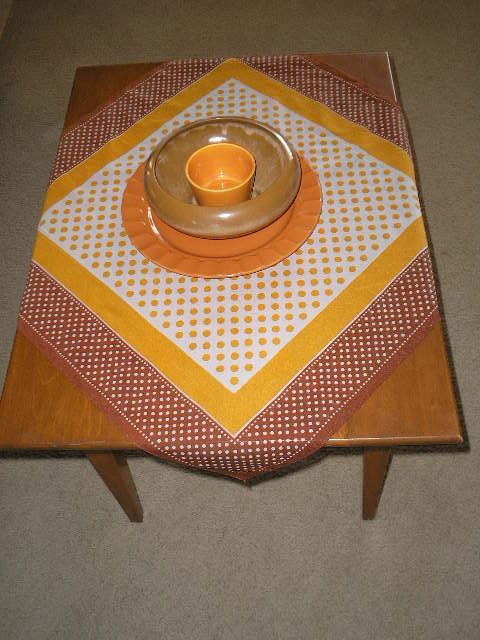
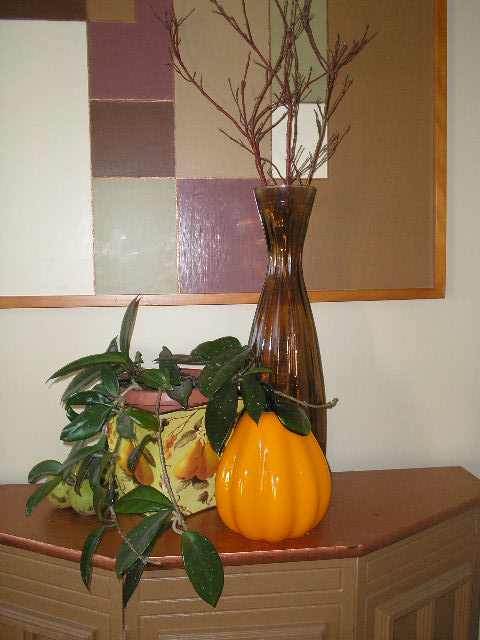
Photo Courtesy of Thistlewood Farms
KariAnne over at Thistlewood Farms, has such a lighthearted, fun way of expressing herself. But this latest post touched my heart in a special way and brought back memories of two wonderful people in my life. I just had to send her a comment. I know you’ll enjoy her piece called “A LANGUAGE ALL THEIR OWN”
______

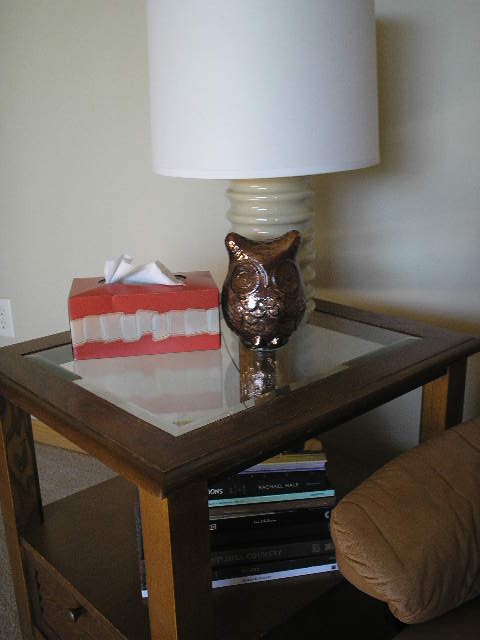
Photo Courtesy of RTA Studios
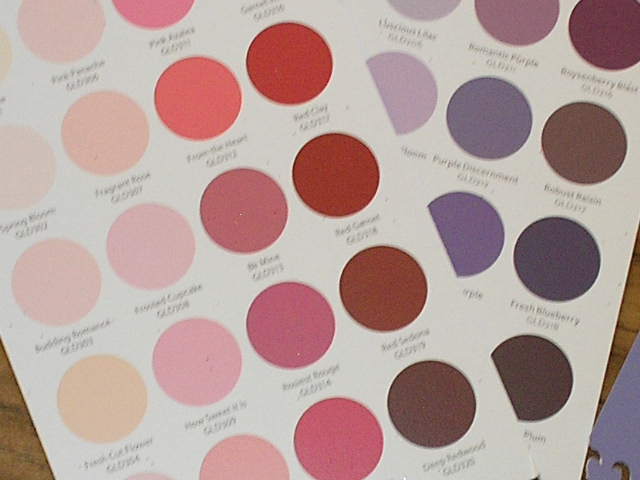
RTA Studio’s blog “SENSE OF PLACE” sends me a little newsletter called “Knock Knock”. Whether an experienced homeowner, newly venturing into real estate or still in the daydreaming stage, you’ll find architect Richard Taylor’s insights and experiences fun and informative. As a former Real Estate agent, I enjoy keeping in touch with the “home industry” and his point of view is always interesting. This week’s piece is . . . The “Peanuts” Guide To Finding An Interesting Home.

Photo Courtesy of RTA Studios
______
Truly, I follow some pretty great blogs. But there are always more out there to explore. Here’s one of my recent discoveries.
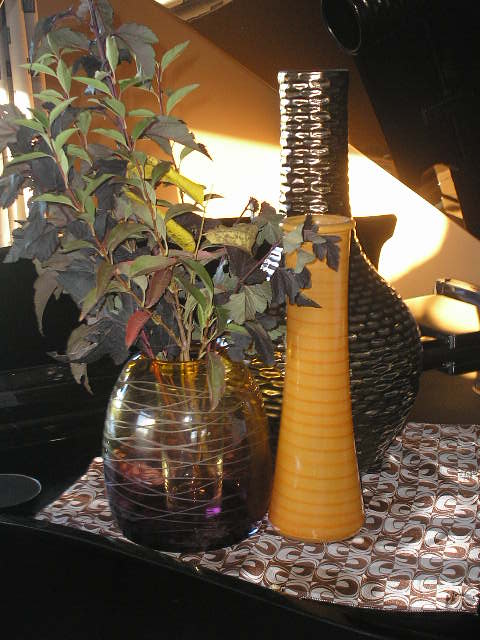
There are those of us who know a little bit about a lot of things, right? Well, I’d say Cher with DESIGNS BY STUDIO C knows an awful lot about most any project she tackles. We found this article helpful.
Ladies . . . even Hubs likes this site. It’s one we can enjoy together. Seriously, so check it out.

Photo Courtesy of Designs by Studio C
______
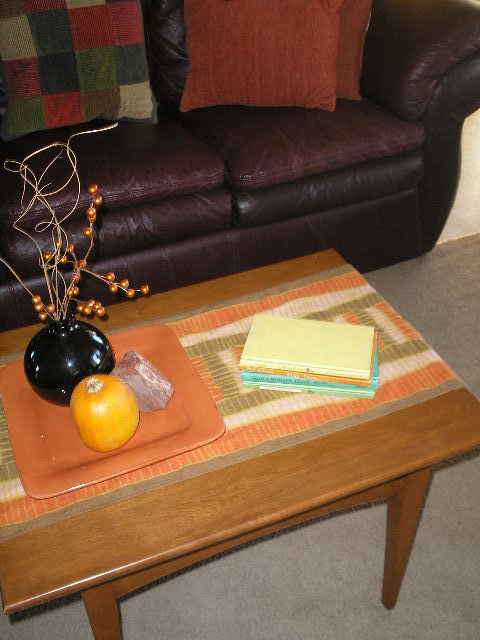
When you were a kid did you like the story of Goldilocks and the 3 Bears? Me – not so much. Don’t you think Goldy was a doofus to go snooping in a stranger’s house?

Photo courtesy of Adventures of Goldilox
Well, this week I discovered a Goldilocks that I do like, and I bet you will too.
I found someone I could really relate to over at ADVENTURES OF GOLDILOX
This Goldi is a military spouse (so was I), has a fantastic sense of humor (me too . . . well, at least I think so) and she seems willing to try just about any project (even more so than me). I couldn’t ask for more, but I bet you’ll like her too, so buzz on over there.
______
Hey now, I have to sign off. Still have to finish my little Valentine Treat basket surprises for my neighborhood kids. I’ll post a pic of it soon.
Oh yes, PLEASE & THANK YOU for visiting these blogs and telling them you found them at my place! It’s helps us both.
Meanwhile, remember not to stress too much, just start that project!
Later – Cheryl
This original article “THRUSDAY THOUGHTS … JUST SAYIN’” appeared first on Artzzle.com. No included content or photography can be used elsewhere without specific permission from said originators.
Copyright © 2013-2014 Artzzle All Rights Reserved