Thanksgiving Day has come and gone,
Black Friday past and Small Biz Saturday nearly done …
it’s time to think about Christmas.
We usually ease into Christmas gradually, but this year since our family is combining the two holidays, and celebrating in Mid-December, I began early, pre-Thanksgiving, even.
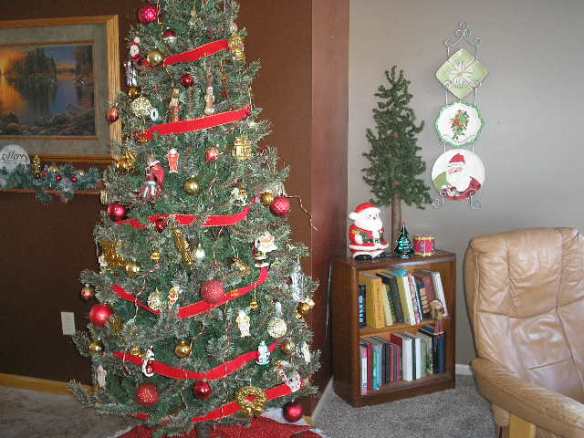
The most difficult and time consuming part (and a great relief when completed) is the tree, so it goes up first. Then after a few nights of pretty lights, I’m in the spirit to do the rest. Often, I work with a definite color scheme and theme, continuing it through the house. Not so much this time.

I brought out all of our “special” family ornaments and memory pieces, added a bit of sparkle with some beads and garland, and finally, added multi-colored ornaments through-out. The result is a very old-fashioned, homey look, especially since we placed the tree right by the fireplace.
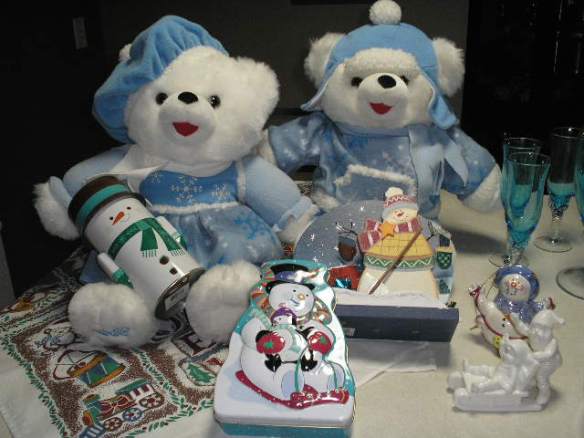
I have a collection of Dayton Hudson Corporation “SANTA BEARS”; small in quantity (only 3) because the guys themselves are big and a bit difficult to hibernate for the rest of the year. In 2014, it was just Hubs and I around, so no giganto tree. I put all three bears atop the piano, around a small table tree.
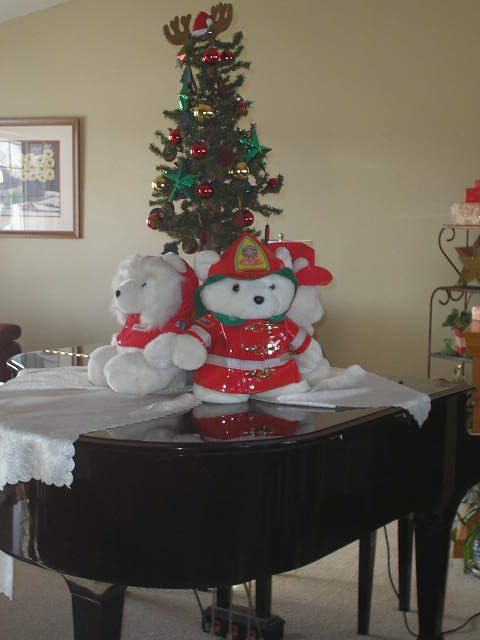
Did ya notice the reindeer antlers on the tree top 😛
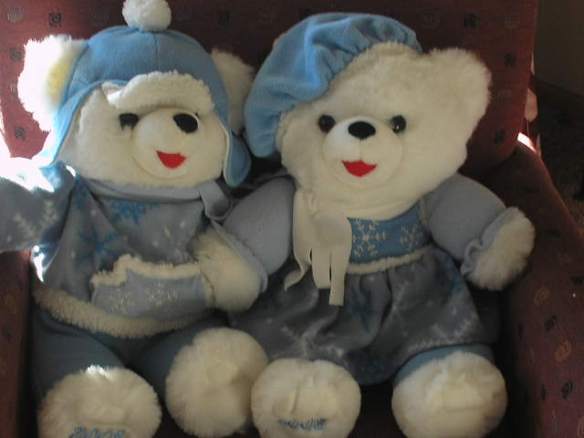
This year, the bears are taking up individual little spots in the living room.


At a younger age or earlier stage, your holiday decor collection will just be starting. Don’t feel you have to rush right out and grab everything on your first official holiday. One of my favorite tips applies at Christmas too.
TIP #1: Start with what you already have, and build from there.
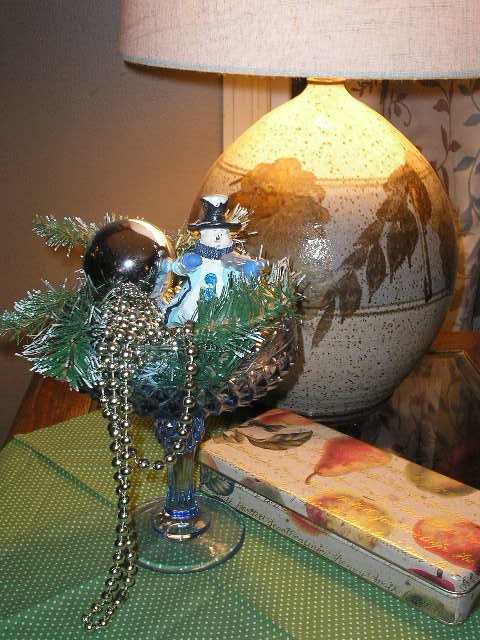
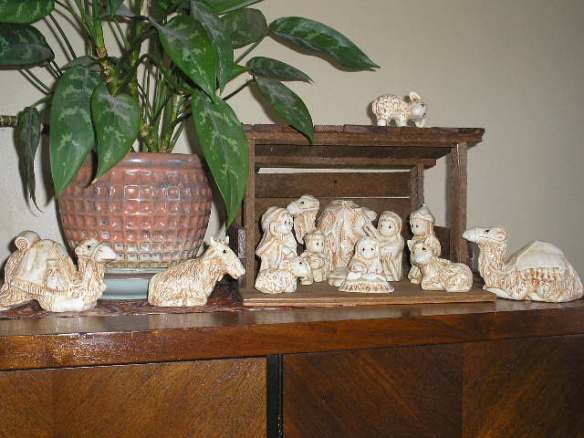
 EXAMPLE: A plate and figurine, a metallic (musical tree) and bright colored books with metallic print. You may already have a piece or two that you treasure. Pull some ideas and color from that. Cost on pieces: Plate = $2.00; Santa Bell = $0.75; Tree = $1.50 (silver plated, musical) . All are thrift buys, but keep in mind, all purchased at different times.

If you’re a complete beginner, shop for two or three items you really like, then try a boost with a little greenery, faux or real. Also in this season, take advantage of the beautiful wrapping papers and fabrics. No sew … just fluff up a remnant fabric, tuck under the rough edges and top it off with some pretties. Above, I just wrapped three sizes of boxes, held together with ribbon and topped with a bow. I put one of my houseplants in a bright red basket (thrift store $0.25) for a holiday look.
USE YOUR IMAGINATION … and HAVE FUN!
TIP #2: This is a great time of year to shop all of your local thrift stores. There are beautiful pieces for just pennies. Good for the budget (and not as crowded as the big box stores).
The stars below were $3.00 and $0.75. I get most of my books at a local Goodwill in their end-of-day sales. Last time I purchased 10 beautiful HARDBACK books for $2.00. That’s $0.20 each, guys). I never pay more than a dollar for any book unless it’s stupendous!

TIP #3: Remember the Magic # 3. Those arrangements and little vignettes are as easy as 1-2-3. Start with three items varied in height and interest. Work with the 3 essentials; color, pattern and textures.
Be sure to “ground” your grouping; use a pretty fabric, or perhaps a seasonal placemat; maybe a book or two. If your objects are just sitting in the middle of a table, they give a disconnected look; just floating around. That’s why it’s important to ground.

Our place isn’t finished for the coming celebrations, but here are some 14 vs. 15 looks at the kitchen cab tops.
2014 …


vs. 2015


2014, single cabinet …

vs. 2015 look.

Finally, a 2014 shot of one of the hutch shelves.

I’m using this one again.
Okay … I’m “holiday’ed” out for this time. Enjoy the rest of your weekend and remember … staying positive is a good way to stay productive.
We’ll talk soon.
Later – Cheryl